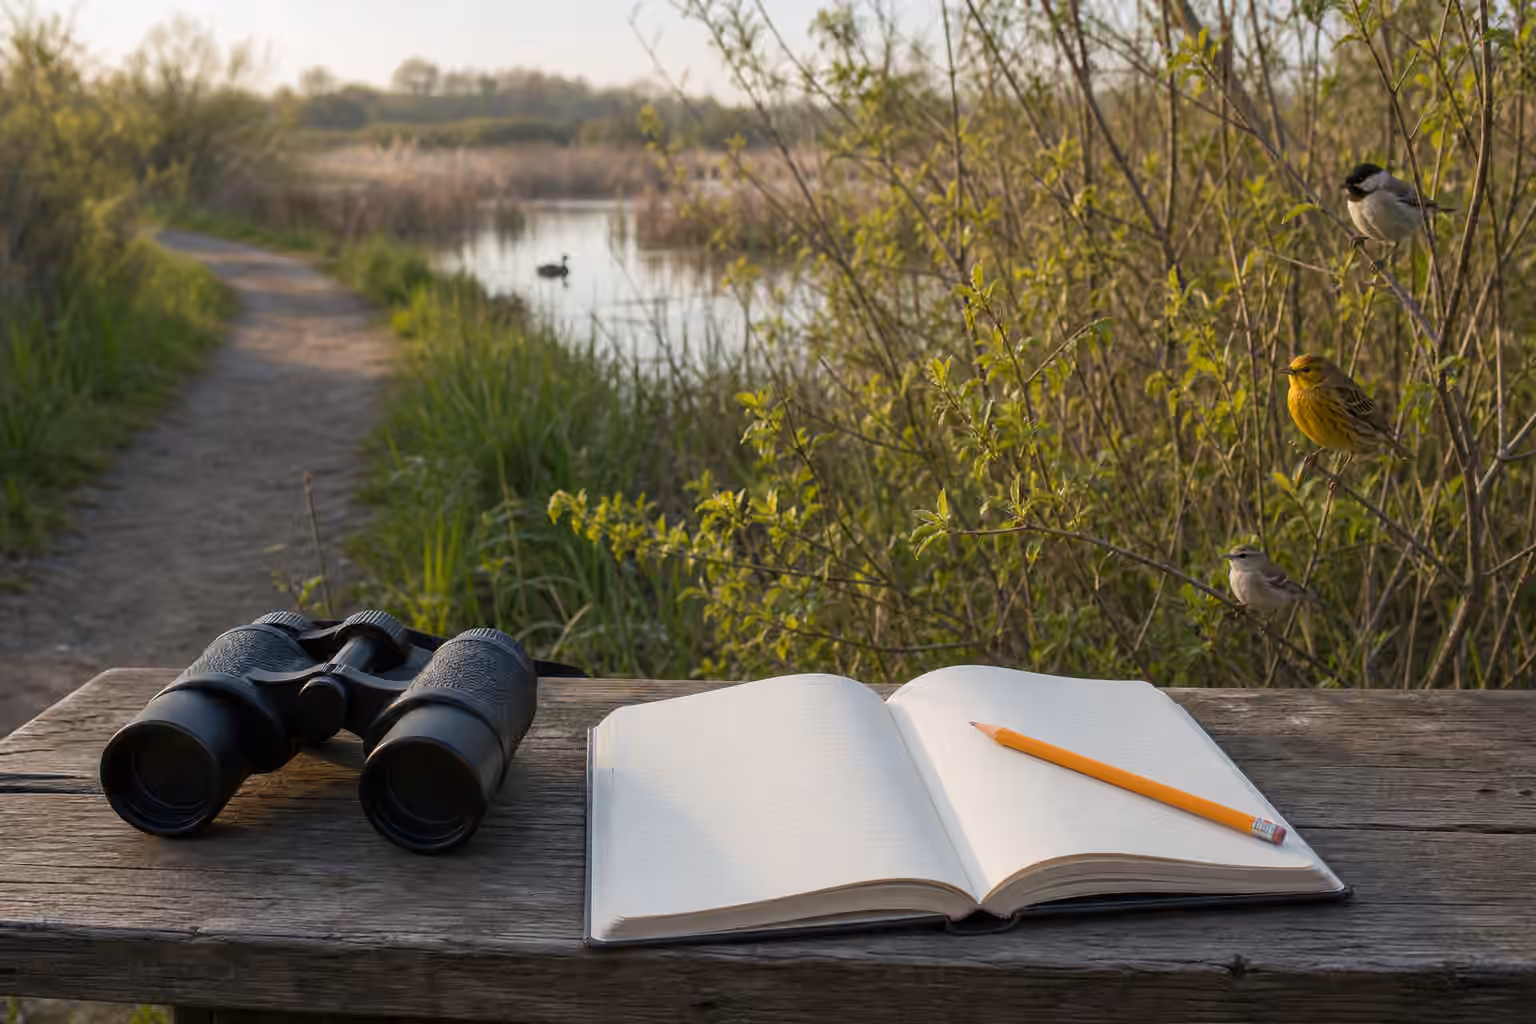
Field sketching helps birders remember what they actually saw instead of what they hoped they saw. It is not an art exercise, and it does not require a beautiful drawing. The useful sketch is often small, crooked, and private. It captures posture, proportions, bill shape, tail length, wing angle, a patch of color, or the way a bird held itself for three seconds before disappearing into leaves.
This habit fits naturally beside Birding Etiquette and Field Notes because both are about leaving yourself better evidence. A checklist can say which bird you believe you saw. A sketch can remind you why. When a bird is unfamiliar, distant, oddly lit, or partly hidden, the act of drawing even one line can slow the mind enough to keep the observation honest.
Draw the Bird’s Weight Before the Bird’s Color
Beginners often start with color because color feels obvious. In the field, color changes with light, angle, wear, age, shadow, and distance. A quick sketch should begin with weight and structure. Was the bird round and compact, long and lean, front-heavy, tail-heavy, upright, horizontal, hunched, or stretched? Did it sit like a sparrow, cling like a woodpecker, glide like a gull, lean like a heron, or flick through branches like an active canopy bird?
The first mark can be an oval. The second can be a line for the tail. The third can be a short bill, long bill, curved bill, thick bill, or needle bill. Those marks are enough to anchor memory. If you later read How to Identify Birds Without Guessing , the same order appears there: size, shape, behavior, habitat, sound, and only then the smaller field marks. Sketching turns that order into a physical habit.
Do not wait until the bird is gone to begin. If a bird is perched, put down the body angle first. If it moves, add an arrow or a second body shape. If the bird is flying, draw the wing outline even if the head is only a dot. A rough gesture made during the sighting is more valuable than a neat reconstruction after memory has started to fill gaps.
Use Sketches to Save Motion
Many birds are recognized by motion as much as markings. A flycatcher returns to the same perch after short flights. A nuthatch walks headfirst down bark. A creeper spirals upward. A shorebird probes, pauses, runs, and probes again. A raptor holds wings in a shape that looks different from a gull crossing the same sky. A sketch can save these motions with arrows, repeated poses, or a few lines beside the body.
This is especially useful in poor light. The guide to Silhouette Birding teaches you to read posture and outline when color is unavailable. A sketch extends that lesson. Instead of writing “dark bird in tree,” draw the way the tail hung below the branch, the thickness of the bill, and the angle of the body. Instead of writing “large bird overhead,” draw the wing bend and tail spread. A note can tell you what happened. A sketch can show how it looked.
Movement sketches also reduce overconfidence. If your drawing shows a bird constantly pumping its tail but the field guide image you later choose does not fit that behavior, the sketch pushes back. It reminds you that identification is a match between evidence and possibility, not a search for the most attractive answer.
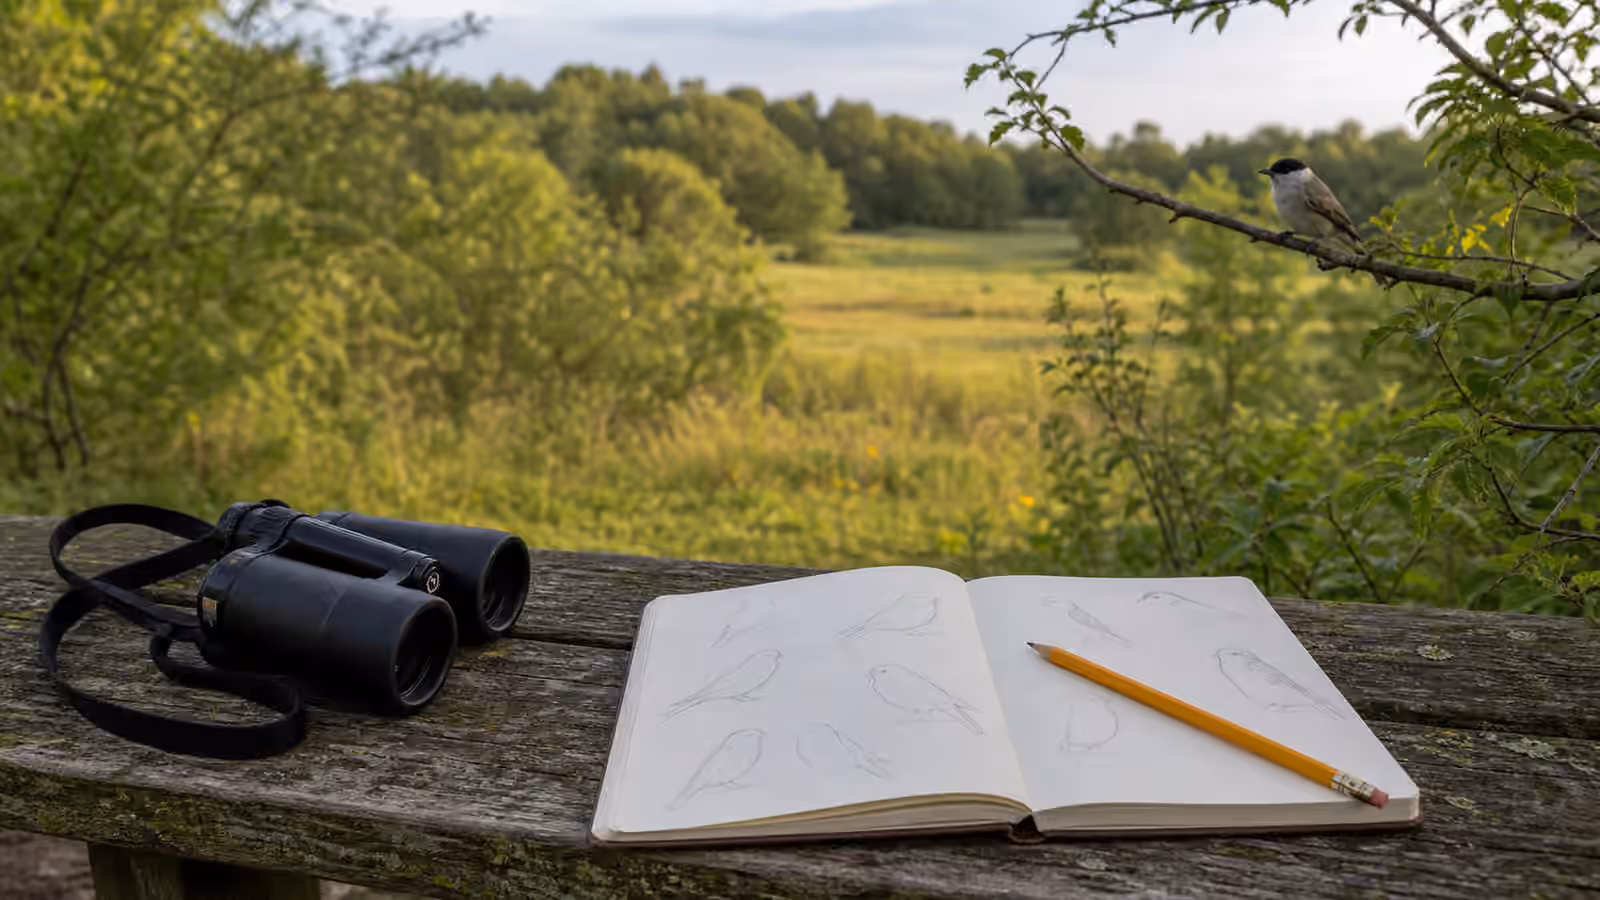
Keep the Page Small and Forgiving
A field sketching page works best when it does not feel ceremonial. Use a small notebook, a pencil, and enough space to make quick marks without worrying about layout. A page can hold fragments from several birds. One corner might show a long tail. Another might show a bill. A third might hold a tiny map of where a sound came from. The page is not a finished plate for display. It is a memory tool.
Leave room around the sketch for words. Habitat, behavior, and sound often matter more than the drawing itself. A sketch of a plain bird in shrubs becomes stronger when the margin says it was low in a hedgerow, giving dry chips, pumping the tail, and staying near brush piles. A rough drawing of a bird in open grass becomes more useful when paired with notes about walking, running, singing from a post, or flushing low. This is why sketching works well with Scrub and Hedgerow Birding and Grassland Birding . Those habitats often offer brief, partial, behavior-heavy views.
If you dislike drawing, give yourself permission to make diagrams instead. A circle, a triangle, a line, and an arrow can describe a bird’s structure. A dark patch can be shaded without naming the color. A wing bar can be one short stroke. A facial pattern can be a stripe through a tiny head. The marks only need to be clear to the person who made them.
Sketch One Question at a Time
Trying to draw the whole bird can make you miss the bird. Pick one question. If the bird is a sparrow-like shape, draw the face pattern and tail length. If it is a gull, sketch the head profile, wing tip, and posture in the flock. If it is a raptor, draw wing shape and tail shape. If it is a woodpecker, draw how it braced against the trunk. If it is a warbler moving through leaves, sketch the body angle and any bright patch you truly saw.
This single-question approach is useful with difficult groups. Sparrows and Little Brown Birds asks beginners to calm down and compare structure, face, streaking, and habitat. A sketch can isolate one of those pieces. Gulls for Beginners becomes less overwhelming when you draw the resting posture of one bird instead of trying to solve the whole flock. Raptor Watching for Beginners becomes more grounded when a quick wing outline replaces a vague memory of “big hawk.”
The habit also works for birds you already know. Sketching a common robin, crow, dove, duck, or chickadee-like bird teaches your hand what familiar structure feels like. Later, when something unfamiliar appears, the difference is easier to notice. Common birds become calibration instead of background.
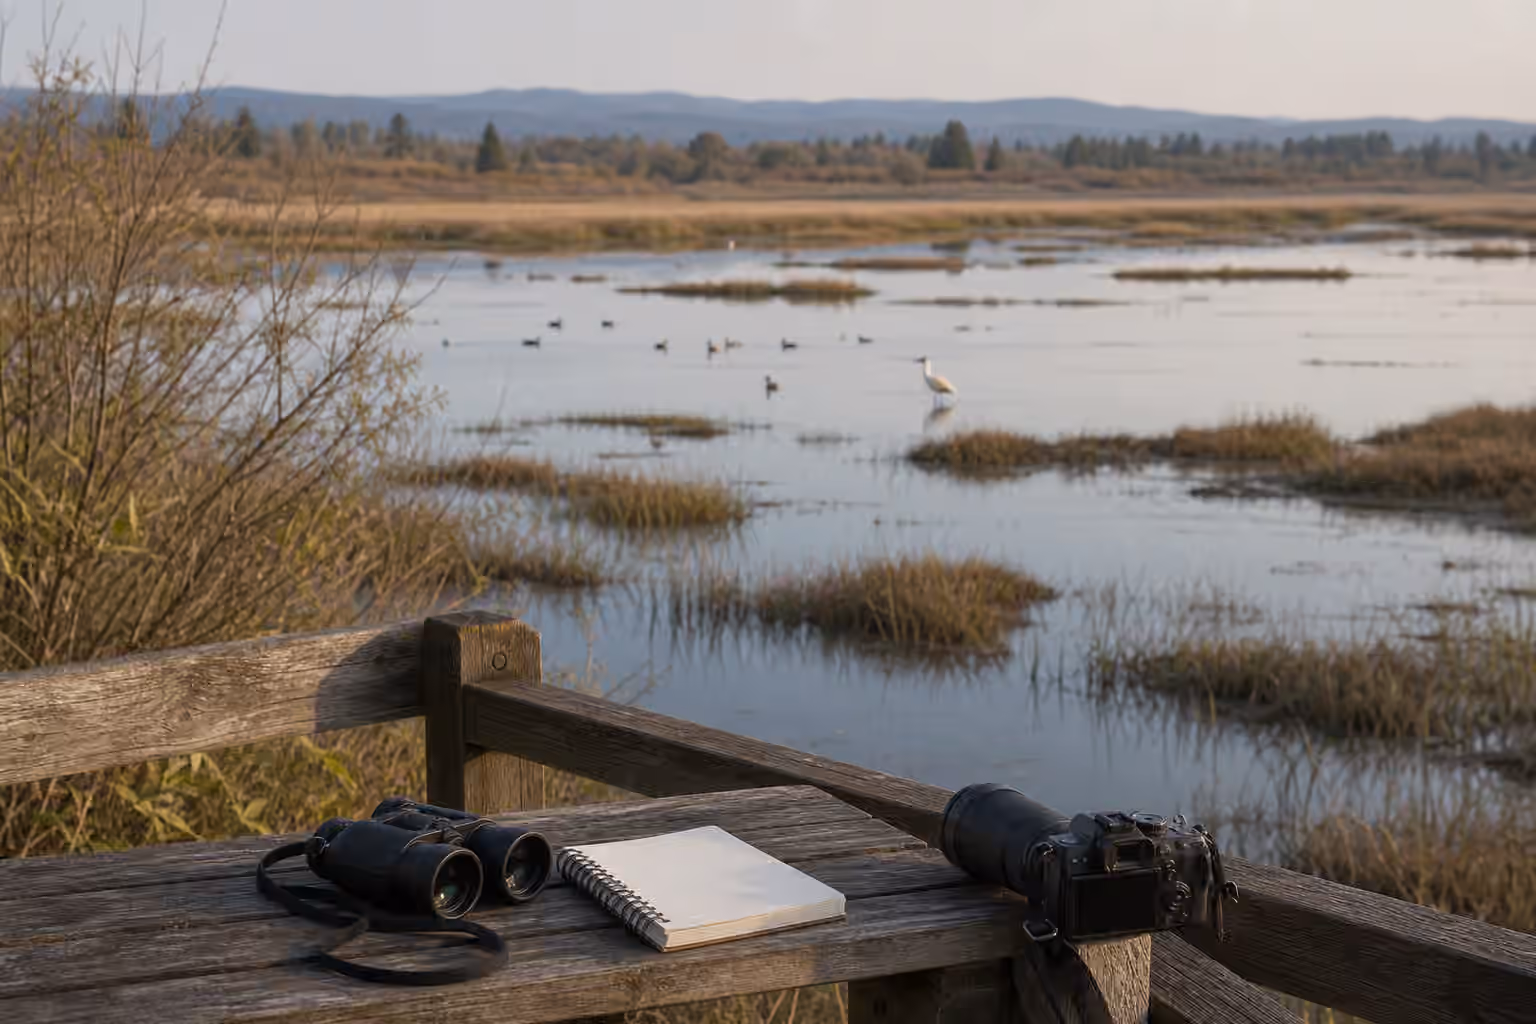
Add Place, Time, and Uncertainty
A field sketch should not float away from the place where it was made. Write the date, general location, habitat, weather, and distance if they matter. If the bird was in backlight, say so. If the view was through reeds, say so. If you heard a call but never saw the bill well, say so. The honest limits around a sketch are part of its value.
Uncertainty deserves a place on the page. A question mark is not failure. “Possible vireo, slow in canopy, repeated song, heavy bill not confirmed” is a stronger record than a confident name built on a weak view. The guide to Birding Checklists and Local Records makes the same point in checklist form. Sketching adds a second kind of record, one that shows what the uncertainty looked like.
Over time, sketches become a private field guide to your own attention. You may notice that you often forget tail length, overstate color, or skip habitat. You may learn that one extra line for posture improves your notes more than a paragraph of description. That self-knowledge is quiet but useful. It makes the next walk better.
Let the Sketch End When the Bird Leaves
Do not chase a bird because the drawing feels unfinished. If the bird moves deeper into cover, let the sketch remain incomplete. Add the missing part as a note rather than pressuring the bird for a better view. This is especially important around nests, roosts, feeding flocks, and tired migrants. Good sketching should make field behavior calmer, not more intrusive.
You can refine a sketch later by adding a clean outline from memory, but keep the original marks visible if possible. Those first marks are closest to the sighting. They show what was seen under field conditions, with the bird moving and your attention divided between looking, listening, and writing. Later neatness can help you learn, but it should not erase the evidence.
The best field sketches are humble. They keep you close to the bird as it appeared in the moment: partly hidden, moving, lit from the wrong side, calling from somewhere you could not quite place, or perched just long enough to show a shape. That is the real work of birding. A few imperfect lines can hold it better than memory alone.