The best bird photo is not always the closest one.
Sometimes it is the photo you took before the bird got nervous. Sometimes it is a distant crop that confirms the wing bar you missed. Sometimes it is a blurry frame that preserves bill shape, tail length, and habitat. Sometimes the best choice is not taking the photo at all.
Bird photography can sharpen your birding because it teaches patience, light, posture, behavior, and evidence. It can also ruin your birding if every bird becomes a target.
The camera should help you notice. It should not make you push.
Decide What the Photo Is For
Before raising the camera, ask what kind of photo you are trying to make.
There are three useful categories:
- documentation
- learning
- beauty
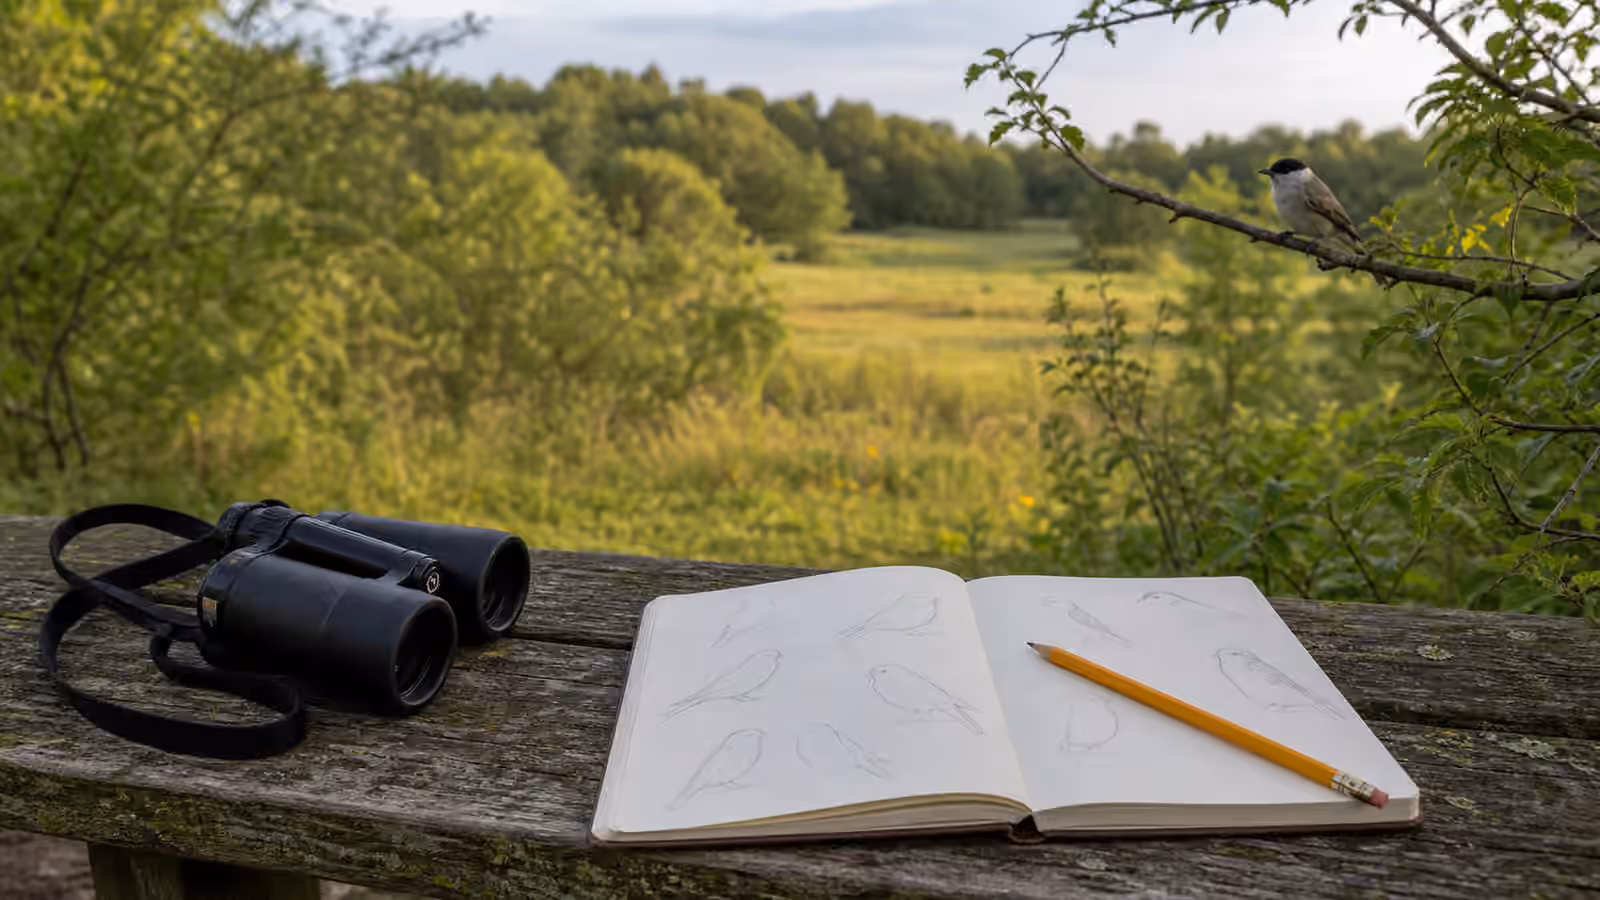
Documentation photos prove or help identify what you saw. They do not need to be gallery quality. A side view, wing pattern, bill shape, or tail mark may be enough.
Learning photos help you study later. They might show behavior, habitat, flock size, molt, posture, or comparison with other birds.
Beauty photos are the polished ones: good light, clean background, interesting behavior, and strong composition.
Confusing these categories causes frustration. A beginner with a modest lens may not get magazine portraits of shy birds. But that same beginner can get excellent documentation and learning images without bothering anything.
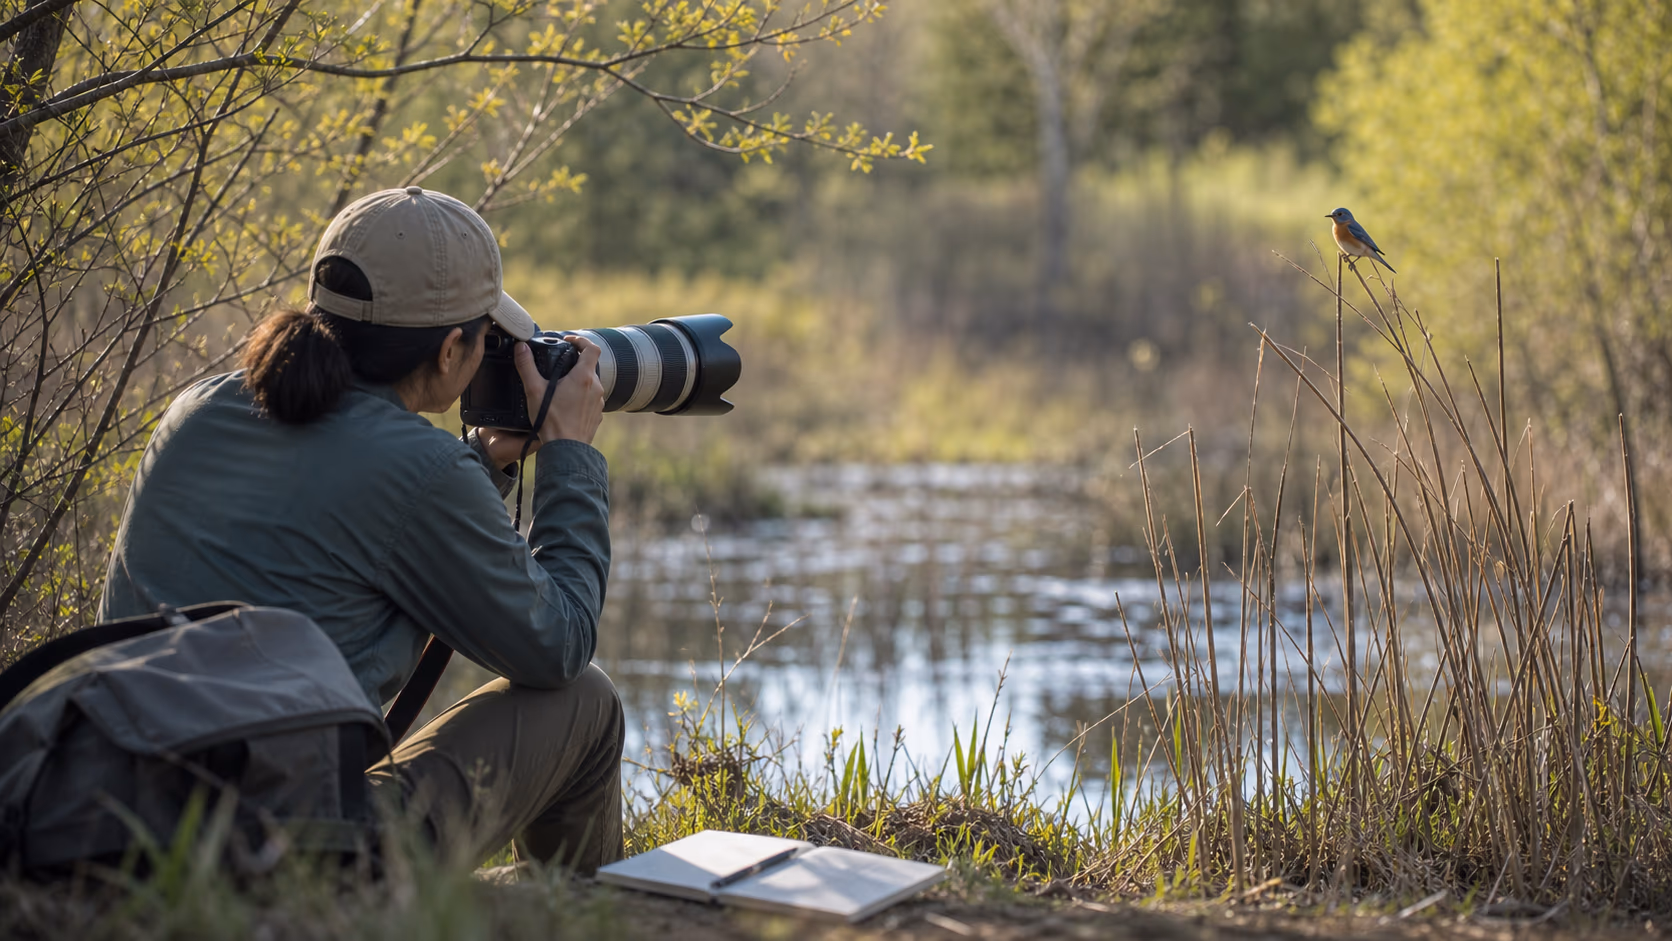
Start With Distance
Distance is the ethical foundation.
Birds often show discomfort before they flee. Watch for:
- stretched upright posture
- repeated glancing at you
- alarm calls
- stopped feeding
- moving away every time you step forward
- wing flicking or restless shifting
- adults hesitating near food or a nest
If you see these signs, stop or back up.
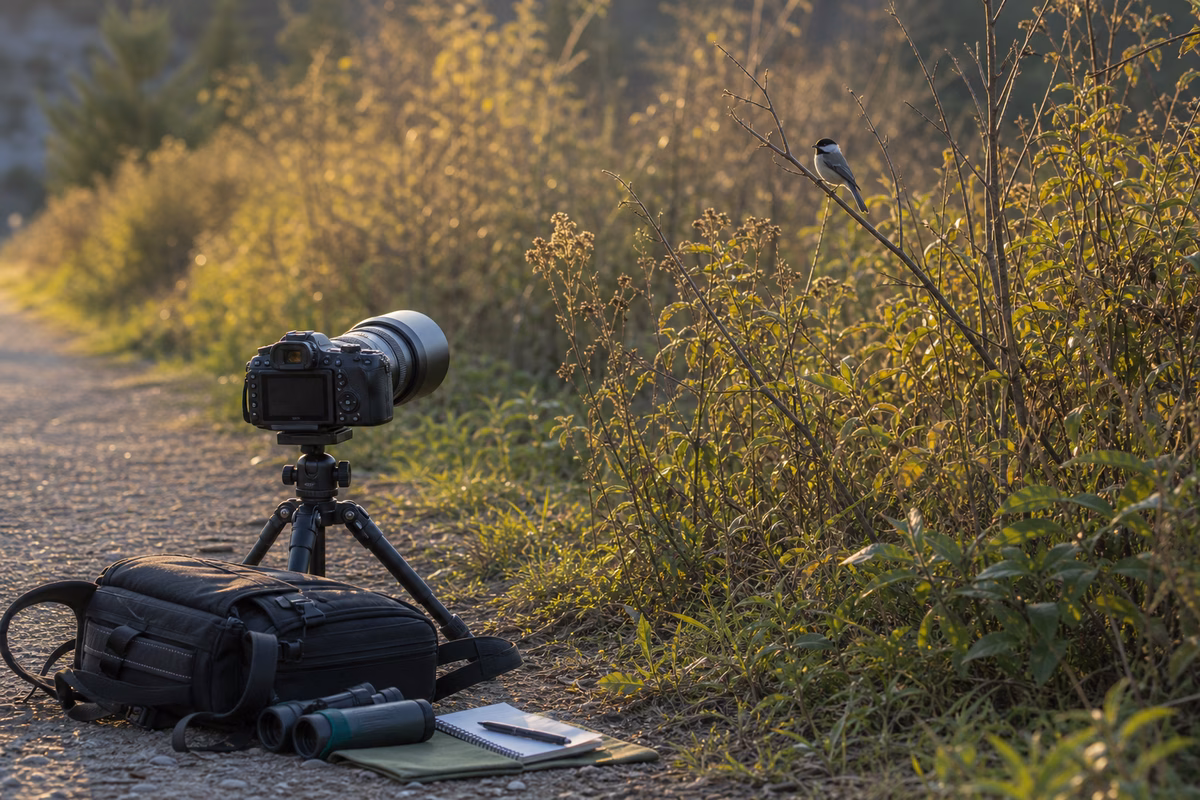
A longer lens, binoculars, or cropping software exists so you do not need to close the gap. The bird’s behavior matters more than filling the frame.
The cleanest field habit is simple: take the photo from where the bird still acts like itself.
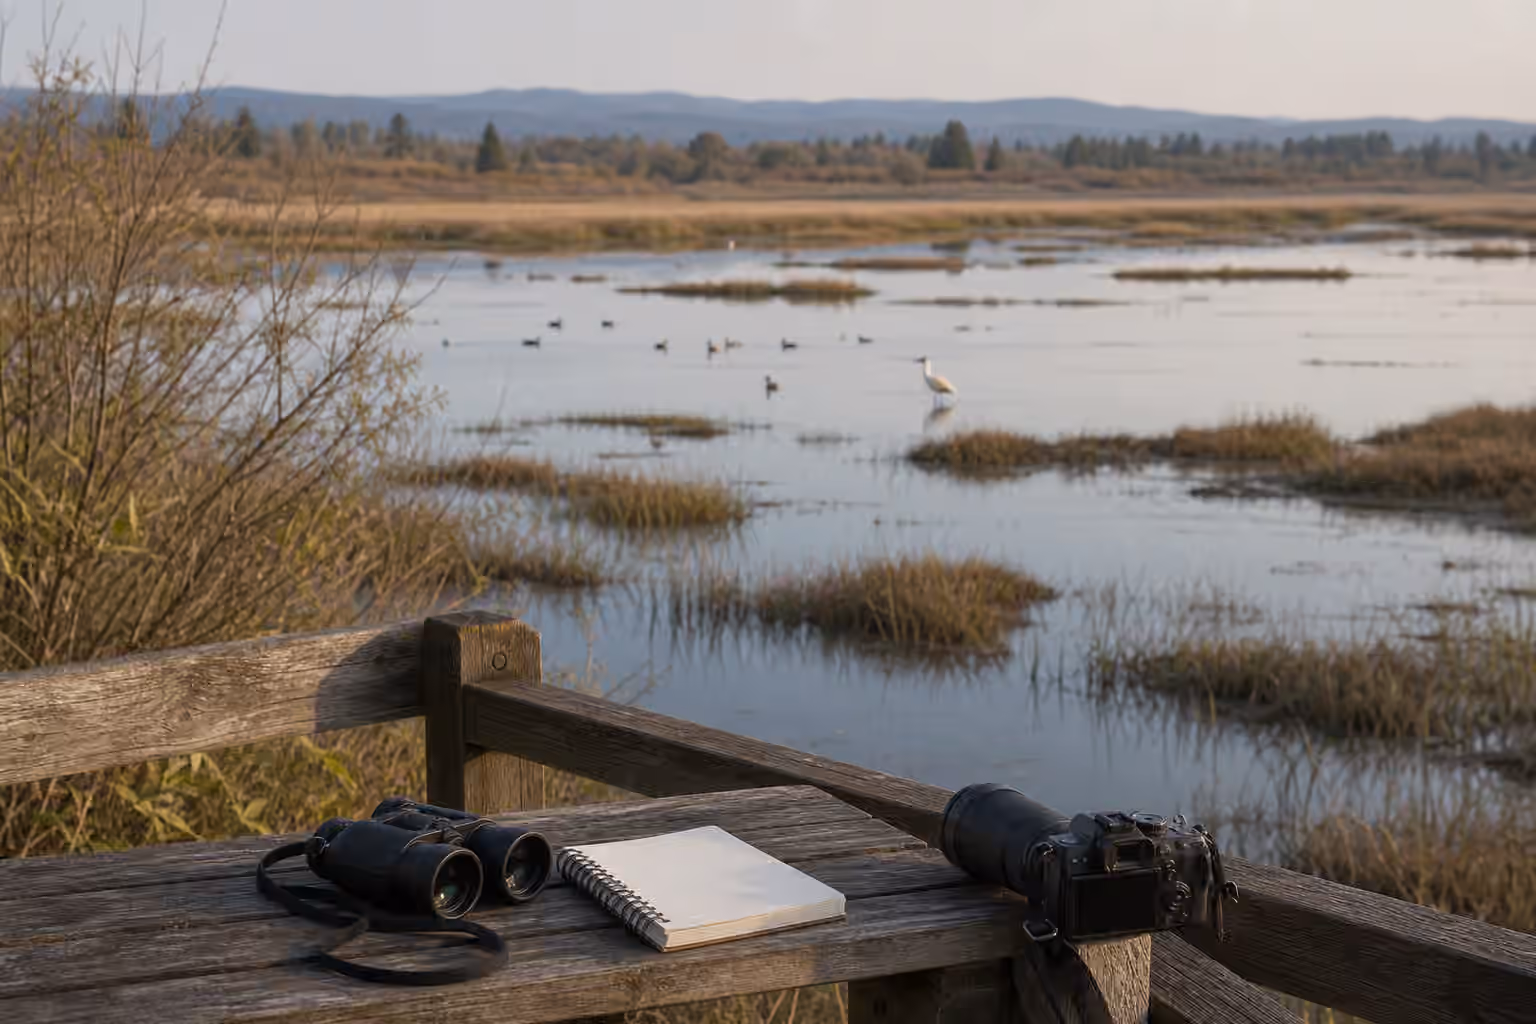
Light Beats Closeness
Good light can make a distant bird more useful than a close bird in harsh glare.
Look for:
- soft morning or late afternoon light
- side light that reveals shape
- overcast light for even detail
- catchlight in the eye if you are close enough
- backgrounds that do not fight the bird
Avoid assuming bright noon light is best. It can blow out pale feathers and bury dark ones. Backlight can turn a bird into a silhouette, which may be beautiful but hard for identification. Shade can hide color but preserve behavior.
When light is bad, switch goals. Make a behavior photo or habitat note instead of chasing a perfect portrait.
Use Burst Mode With Restraint
Birds move quickly. Burst mode can help capture wing position, feeding action, or a clean head angle.
But taking hundreds of frames is not the same as observing.
Use short bursts. Then watch. A camera pressed to your face for the whole encounter can make you miss the story: where the bird came from, what it ate, how it interacted, what sound it made, and why it left.
The best photographers still bird between frames.
Crop Without Shame
Cropping is not cheating.
For birding, cropping often turns a distant, respectful image into a useful note. A cropped photo can reveal an eye ring, wing bar, bill shape, leg color, or tail pattern that was hard to see in the field.
Just be honest about what the image can and cannot prove. Heavy cropping can create noise and artifacts. Color can shift. Motion blur can mimic marks that are not real. A photo is evidence, not magic.
When using a photo for identification, compare it with your field notes:
- Did the behavior match?
- Did habitat make sense?
- Did the size estimate fit?
- Did the sound match?
- Are the visible marks real or camera artifacts?
Photos are strongest when paired with observation.
Never Stage Harm
Some practices can harm birds even if the resulting photo looks calm.
Avoid:
- approaching nests for close shots
- clearing branches around nests
- using playback to pull birds into view
- baiting raptors or owls
- flushing birds for flight shots
- crowding shorebirds or resting flocks
- blocking a bird’s route to food or young
If a photo depends on making the bird spend energy, abandon it.
Young birds, nesting adults, exhausted migrants, roosting birds, and birds in harsh weather deserve extra space. A responsible photo leaves no story of pressure behind it.
Photograph Behavior, Not Just Faces
A perfect portrait is satisfying, but behavior photos often teach more.
Look for:
- feeding technique
- preening
- bathing
- carrying nesting material
- flock spacing
- alarm response
- hovering
- diving
- tail pumping
- bark climbing
- courtship display
These photos may be messier. They may include branches, mud, water, or awkward angles. That is fine. They show how the bird lives.
For beginners, behavior photos are also easier to get ethically because you can stay back and let the scene unfold.
Add Photos to Notes
A folder full of unlabeled bird photos becomes useless quickly.
After the walk, save the important frames with notes:
- date
- place
- species or best guess
- confidence level
- behavior
- habitat
- anything the photo does not show
Example:
May 5, pond edge. Small sandpiper, not confident. Feeding along exposed mud, constant probing, white belly, brown upperparts, short bill. Photo shows size near leaf and leg color poorly.
That note is more useful than the image alone.
Put the Camera Down Sometimes
This may be the hardest advice.
If a bird is doing something wonderful, you may want proof. But birding does not require every moment to become a file. Sometimes the better memory comes from watching with both eyes, hearing the sound, noticing the weather, and letting the bird leave without a shutter chasing it.
A camera is a tool. It is not the point of the walk.
The patient photographer comes home with fewer frames and better encounters. The birds kept feeding. The notes improved. The useful photos support the memory instead of replacing it.
That is the standard worth practicing.
How to use this guide well
A strong guide is not only a reference page. For Patient Bird Photography: Better Pictures Without Pressure, the useful work is to connect the idea to a real choice, routine, object, place, or conversation. Read the page once for orientation, then return to the part that changes what you will do next.
Start with the situation in front of you. What are you trying to decide, fix, buy, compare, build, maintain, or understand? The clearer the situation, the less likely you are to treat every detail as equally important.
Then look for the tradeoff. Most good Birding decisions involve comfort, cost, effort, timing, skill, maintenance, risk, or taste. A guide becomes practical when it shows what you gain, what you give up, and what evidence would change your mind.
Keep one small note after you act. Write what you tried, what happened, and what you would repeat. That habit turns the guide from a page you read into a skill you carry.
This guide should leave you with more than camera settings. It should make the next step easier to see and easier to do.
What to notice after you use this guide
After reading Patient Bird Photography: Better Pictures Without Pressure, choose one next action that can be observed. A guide becomes more valuable when it changes a real choice, not only when it adds more facts.
Name the context. Where are you, what are you trying to improve, and what would count as a good result? The answer keeps the advice grounded in daily life.
Change one variable first. A small controlled change teaches more than a dramatic reset because you can tell what mattered.
Keep one note. Write the date, the choice, the outcome, and the thing you would repeat. The note can be plain and still useful.
Look for tradeoffs. Better birding decisions often involve cost, time, maintenance, comfort, fit, risk, or skill. Seeing the tradeoff makes the decision calmer.
If the result is unclear, wait before adding another fix. Some lessons need a second use, a different day, or a quieter comparison.
If the stakes are high, use qualified sources and professional guidance where appropriate. A guide can organize the question, but it should not pretend to replace expertise.
The goal is practical confidence: a photography routine that makes the next step easier to choose and easier to repeat.