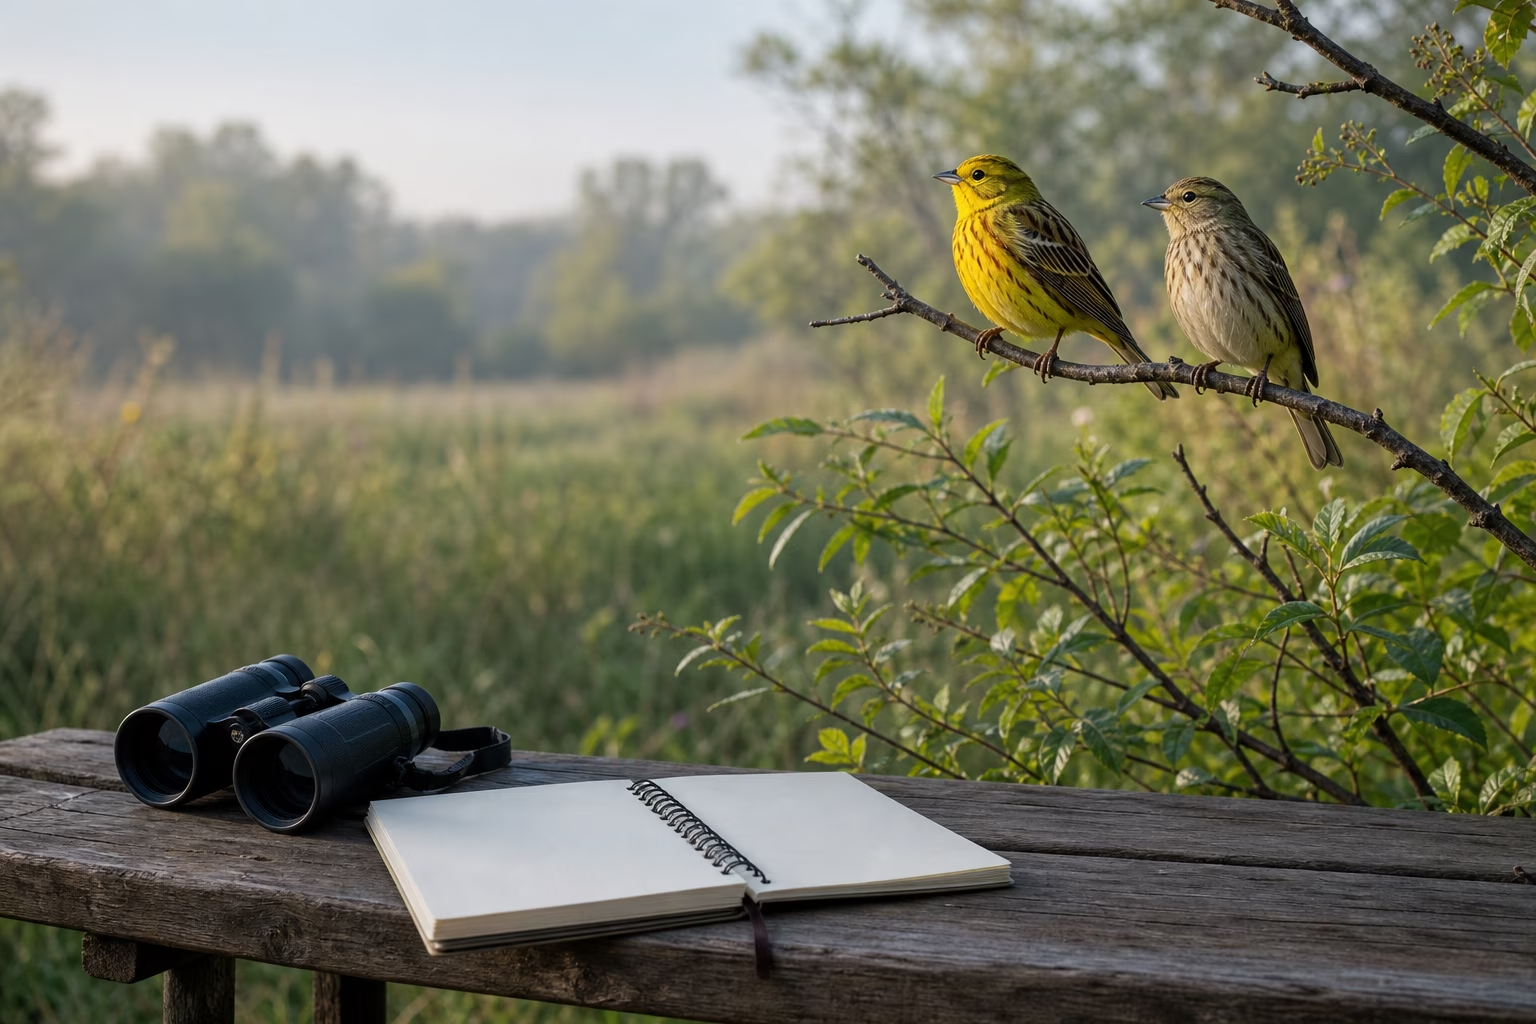
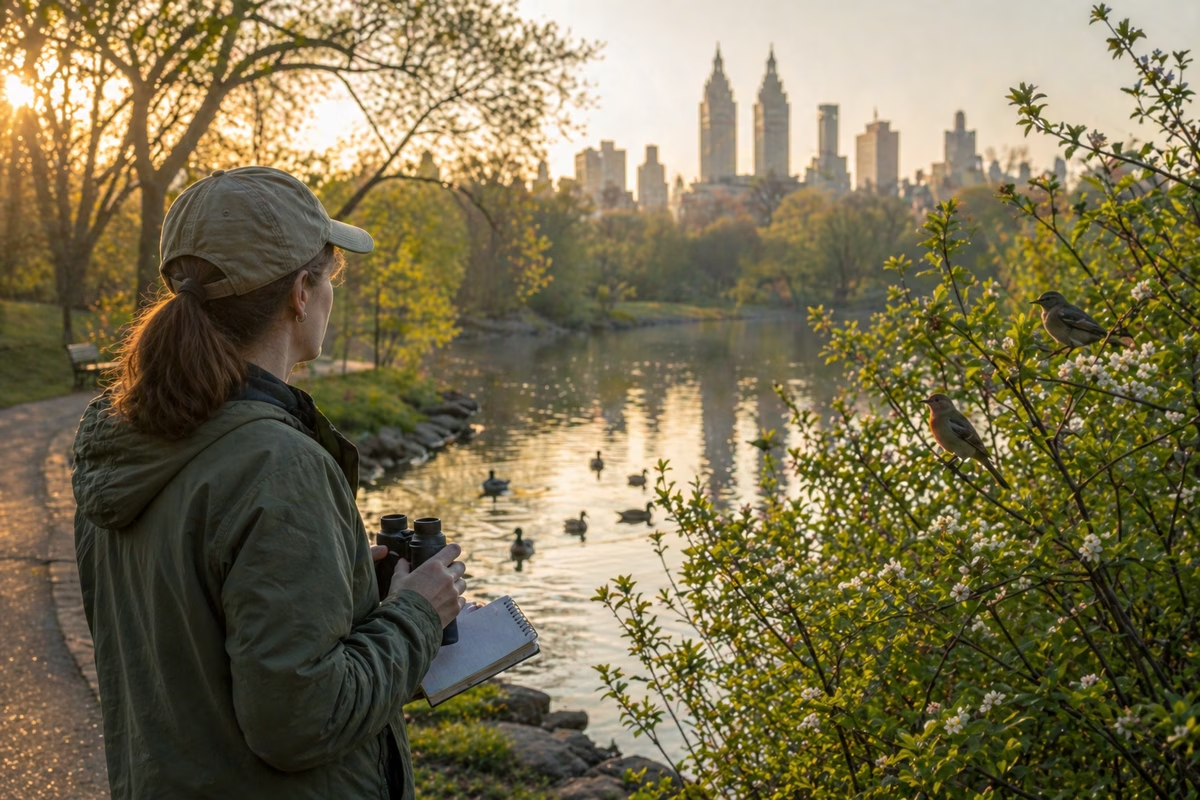
Birding has an odd reputation. From the outside, it can look like a hobby for people who wake up at 4:30, speak in Latin names, and can identify a bird from one blurry wingbeat across a marsh.
That version exists, but it is not where you have to start. Your first useful goal is much simpler: spend one hour outside and come home knowing more about the birds around you than you did before.
What to bring
You can start with almost nothing.
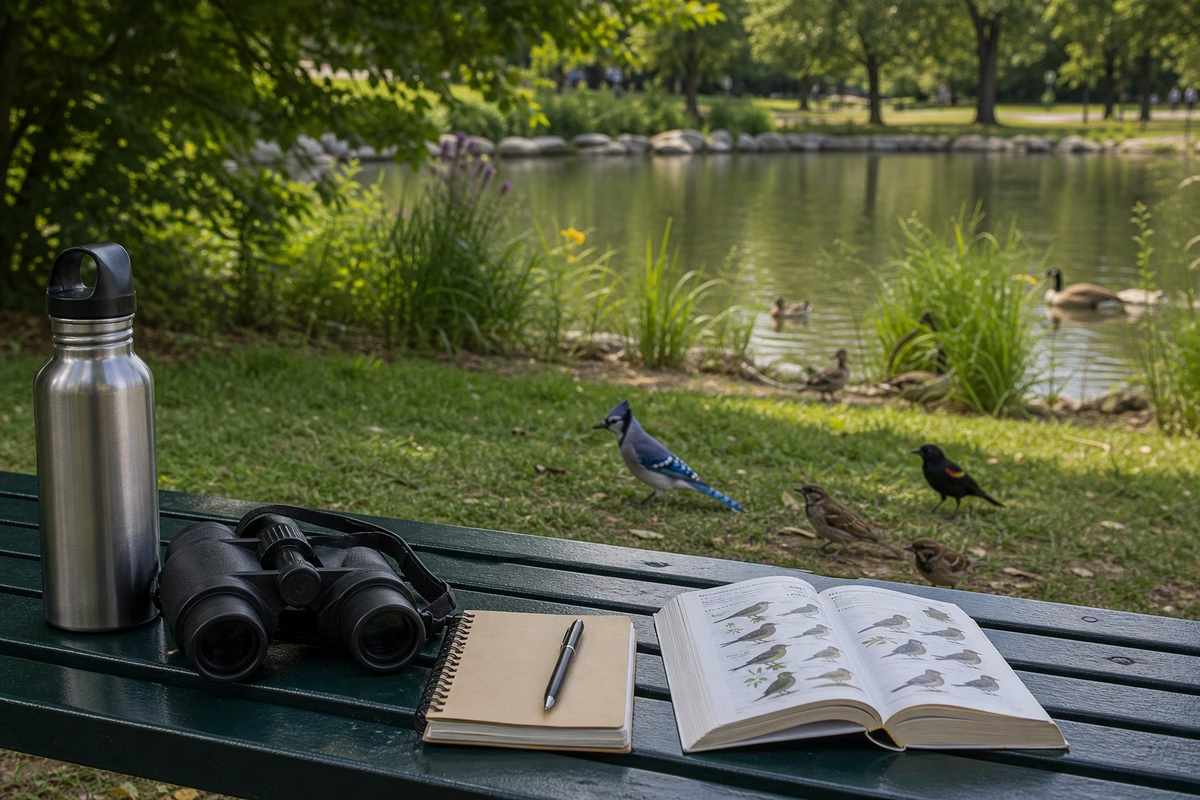
Bring:
- comfortable shoes
- water
- a small notebook or notes app
- a pencil or pen
- binoculars if you have them
- a field guide or bird identification app if you like using one
Binoculars help, but they are not permission to begin. If all you have is your eyes, start anyway. Many common birds are easiest to learn because they come close to people: robins, crows, sparrows, gulls, pigeons, grackles, chickadees, doves, and ducks.
If you do have binoculars, wear the strap. Adjust the eyecups. Practice lifting them to your eyes while looking at a fixed object. The trick is to keep looking at the bird, bring the binoculars up, and let the view meet your eyes. If you drop your gaze to find the binoculars, the bird will often vanish.
Where to go first
Choose an easy place, not the wildest place.
A good first birding spot has three things:
- a safe place to stand or sit
- edges between habitats, such as lawn and trees, water and reeds, or shrubs and open path
- enough quiet that you can listen
City parks are excellent. So are ponds, cemeteries, school fields after hours, neighborhood greenways, beaches, gardens, and the edge of a grocery-store parking lot with a few trees. Birds are not impressed by our idea of scenic. They care about food, cover, water, nesting places, and safety.
For your first outing, avoid turning the walk into a forced march. Pick one bench, one pond edge, or one tree line and stay there for ten minutes. Birds often appear after you stop being the loud moving object.
The first five minutes
Before you identify anything, let the place settle.
Stand still. Listen. Look at the highest perches, then the shrubs, then the ground. Watch for movement before you search for color. Many beginners scan for bright feathers and miss the small brown bird hopping in the leaf litter three yards away.
Ask plain questions:
- Is the bird alone or in a group?
- Is it walking, hopping, climbing, swimming, soaring, or perching?
- Is it feeding on the ground, in leaves, in bark, in the air, or in water?
- Is it shaped like a sparrow, a duck, a hawk, a heron, a woodpecker, or something else?
- What is the strongest field mark you can see?
A field mark can be a wing bar, eye ring, crest, long tail, bill shape, white rump, red patch, streaked breast, or the way the bird holds itself. You do not need ten marks. Two or three good ones beat a panicked guess.
A simple identification process
Use this order:
- Size
- Shape
- Behavior
- Habitat
- Color and markings
Color comes later than most people expect because light changes everything. A bird in shade can look gray. A bird against the sun can look black. A wet bird can look wrong. Shape and behavior hold up better.
If the bird is small, ask whether it is round and compact, slim and long-tailed, upright, or flat-headed. If it is on water, notice whether it sits high like a duck, low like a loon, or walks along the edge like a shorebird. If it is on a trunk, notice whether it climbs up, braces with its tail, or creeps headfirst down.
Then check your guide.
Your first note
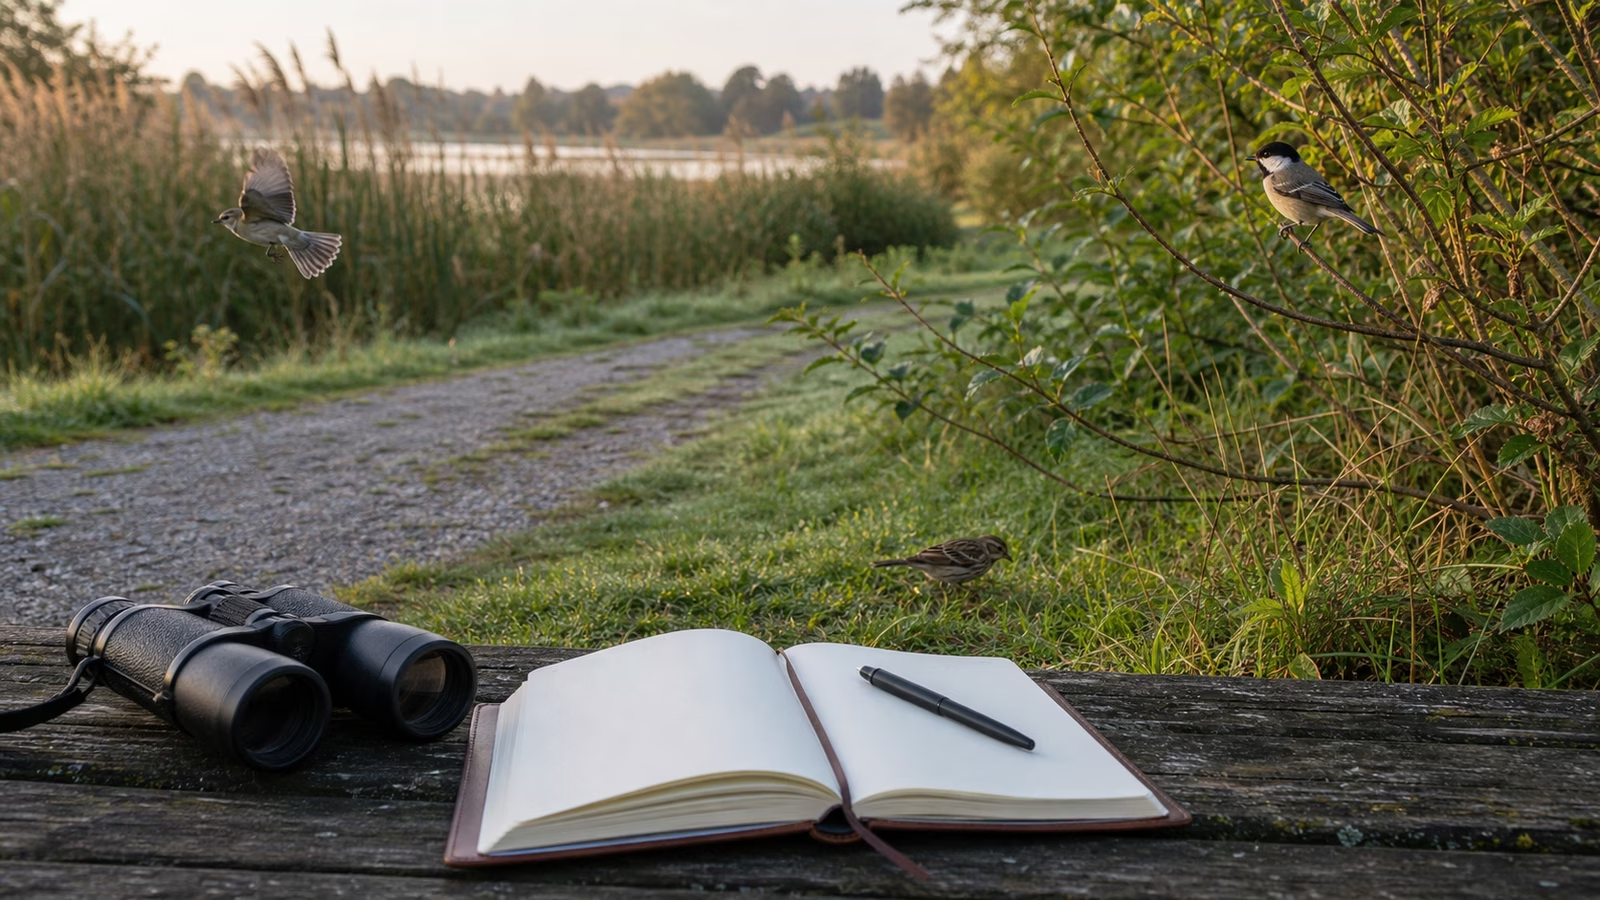
A useful bird note is short. You are not writing a poem unless you want to.
Try this:
Small bird, sparrow-sized, brown back, pale eyebrow, hopping low in shrubs by pond, soft chip call, April morning.
That note may not give you a perfect ID, but it preserves the important clues. “Little brown bird” does not.
Add date, place, weather, and anything unusual. Over time, your notes become a map of your own local seasons.
The five-bird goal
For your first month, aim to know five local birds well.
Not five rare birds. Five common ones. Learn how they move, where they feed, what they sound like, and how they look in bad light.
Good beginner sets might include:
- American Robin
- Northern Cardinal
- House Sparrow
- Mallard
- Red-tailed Hawk
Your region may differ, so use your own common birds. The point is to build confidence from repeated encounters. Once you know a robin’s shape and movement, a bird that is not a robin becomes easier to compare.
Common beginner mistakes
The biggest mistake is rushing to the name. Naming feels like success, but a guessed name does not teach you much. Description does.
Other common mistakes:
- walking too fast
- chasing every sound
- using binoculars before finding the bird with naked eyes
- trusting color alone
- ignoring habitat
- getting frustrated when a bird leaves
Birds leave. That is part of the deal. Every birder has stared at an empty branch where something interesting was a second ago.
What a good first hour looks like
A good first hour might include only four or five species. That is fine.
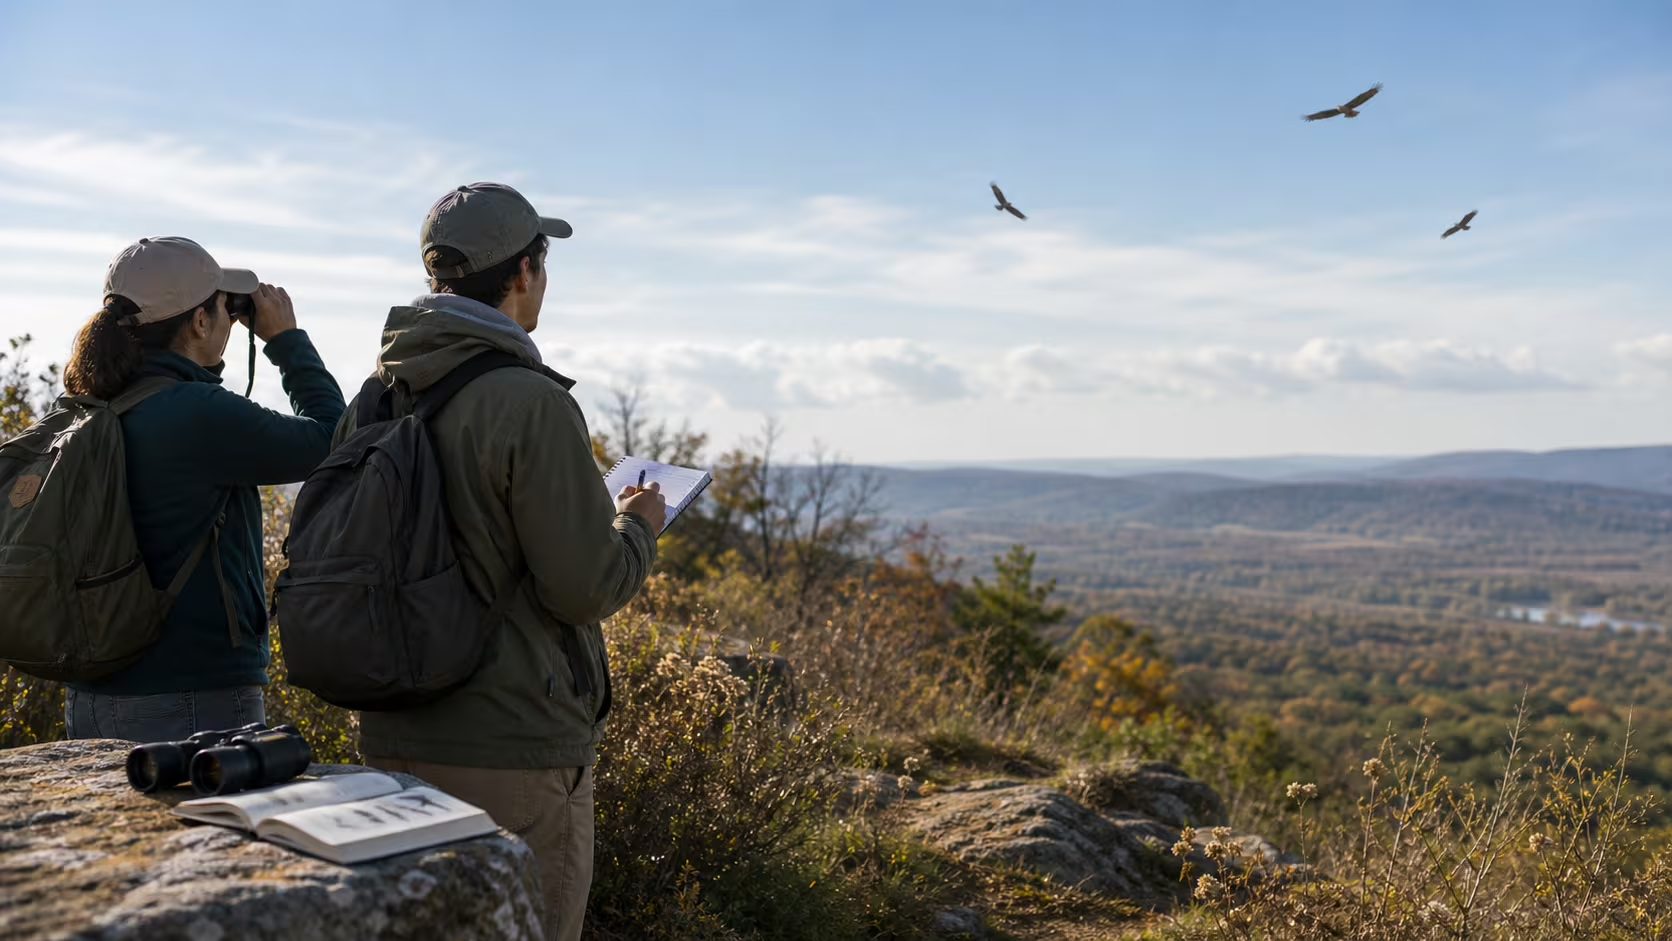
You might watch a robin pull at a worm, a crow check a trash can, a hawk circle above traffic, a sparrow vanish into a hedge, and two ducks tip upside down in shallow water. That is already a lot of birding. You learned feeding styles, body shapes, comfort around people, and the way different birds use the same place.
If you come home with one confident identification, one decent note, and one question, the outing worked.
What to read next
If you enjoyed the first outing, read How to Choose Binoculars for Birding before spending money. If the naming part felt slippery, read How to Identify Birds Without Guessing . If you want to find more birds on purpose, read Where and When to Go Birding and check Birds to Look For This Week before your next walk.
How to use this guide well
A strong guide is not only a reference page. For Birding Quickstart: Your First Good Hour Outside, the useful work is to connect the idea to a real choice, routine, object, place, or conversation. Read the page once for orientation, then return to the part that changes what you will do next.
Start with the situation in front of you. What are you trying to decide, fix, buy, compare, build, maintain, or understand? The clearer the situation, the less likely you are to treat every detail as equally important.
Then look for the tradeoff. Most good Birding decisions involve comfort, cost, effort, timing, skill, maintenance, risk, or taste. A guide becomes practical when it shows what you gain, what you give up, and what evidence would change your mind.
Keep one small note after you act. Write what you tried, what happened, and what you would repeat. That habit turns the guide from a page you read into a skill you carry.
Your first good hour outside should leave you with more than facts. It should make the next step easier to see and easier to do.
What to notice after you use this guide
After reading Birding Quickstart: Your First Good Hour Outside, choose one next action that can be observed. A guide becomes more valuable when it changes a real choice, not only when it adds more facts.
Name the context. Where are you, what are you trying to improve, and what would count as a good result? The answer keeps the advice grounded in daily life.
Change one variable first. A small controlled change teaches more than a dramatic reset because you can tell what mattered.
Keep one note. Write the date, the choice, the outcome, and the thing you would repeat. The note can be plain and still useful.
Look for tradeoffs. Better birding decisions often involve cost, time, maintenance, comfort, fit, risk, or skill. Seeing the tradeoff makes the decision calmer.
If the result is unclear, wait before adding another fix. Some lessons need a second use, a different day, or a quieter comparison.
If the stakes are high, use qualified sources and professional guidance where appropriate. A guide can organize the question, but it should not pretend to replace expertise.
The goal is practical confidence: a first outing that makes the next one easier to choose and easier to repeat.