A spotting scope changes birding because it makes distance usable. Shorebirds can keep feeding on the far mud. Ducks can rest in the middle of a lake. Gulls can loaf on a sandbar without being pushed into flight. A hawk watch can study distant shapes without pretending every bird needs to pass overhead. The scope is not only a tool for seeing farther. Used well, it is a tool for leaving birds alone.
The beginner gear guide, How to Choose Binoculars for Birding Without Overspending , is right to say that a scope can wait. Binoculars are faster, lighter, and better for most first walks. A scope becomes useful when your birding regularly includes distance: lakes, reservoirs, tidal flats, beaches, marsh overlooks, open fields, hawk watches, and big water. Once you have one in front of you, the main question is not how expensive it is. The question is whether you can use it calmly enough to learn from it.
Use the Scope for Distance, Not Pursuit
The worst way to use a scope is to treat it as permission to keep advancing. If the bird is still too far, walk closer. If it moves, follow. If the flock shifts, push again. That habit defeats one of the best reasons to carry the tool. A scope should help you accept distance, especially around birds that need limited feeding windows, safe resting space, or cover they can trust.
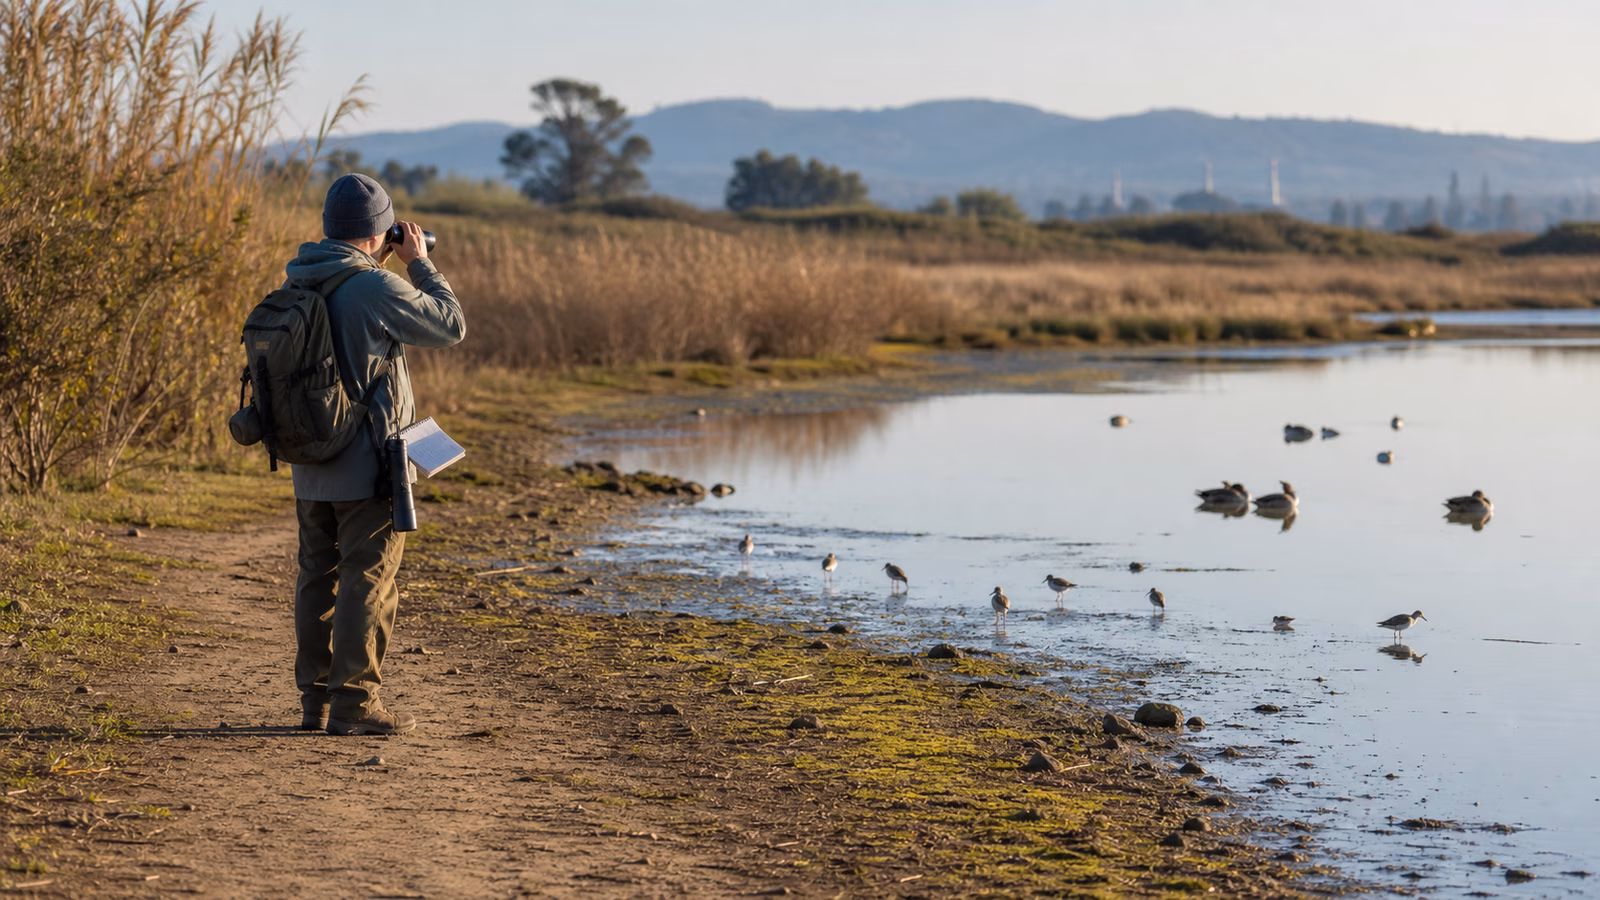
This matters at water edges. Shorebirds, gulls, ducks, geese, terns, waders, and other birds often gather where food and safety meet. A person walking directly toward them may not see alarm until the flock lifts. Birding Etiquette and Field Notes applies strongly here. If birds stop feeding, bunch together, stretch their necks toward you, call repeatedly, move away, or flush, the distance was not working. The scope is most successful when the birds continue doing what they were doing.
Think of the tripod as a promise to stop. Set up where you have a responsible view, not where you can force the closest possible view. A distant bird behaving naturally often teaches more than a closer bird leaving.
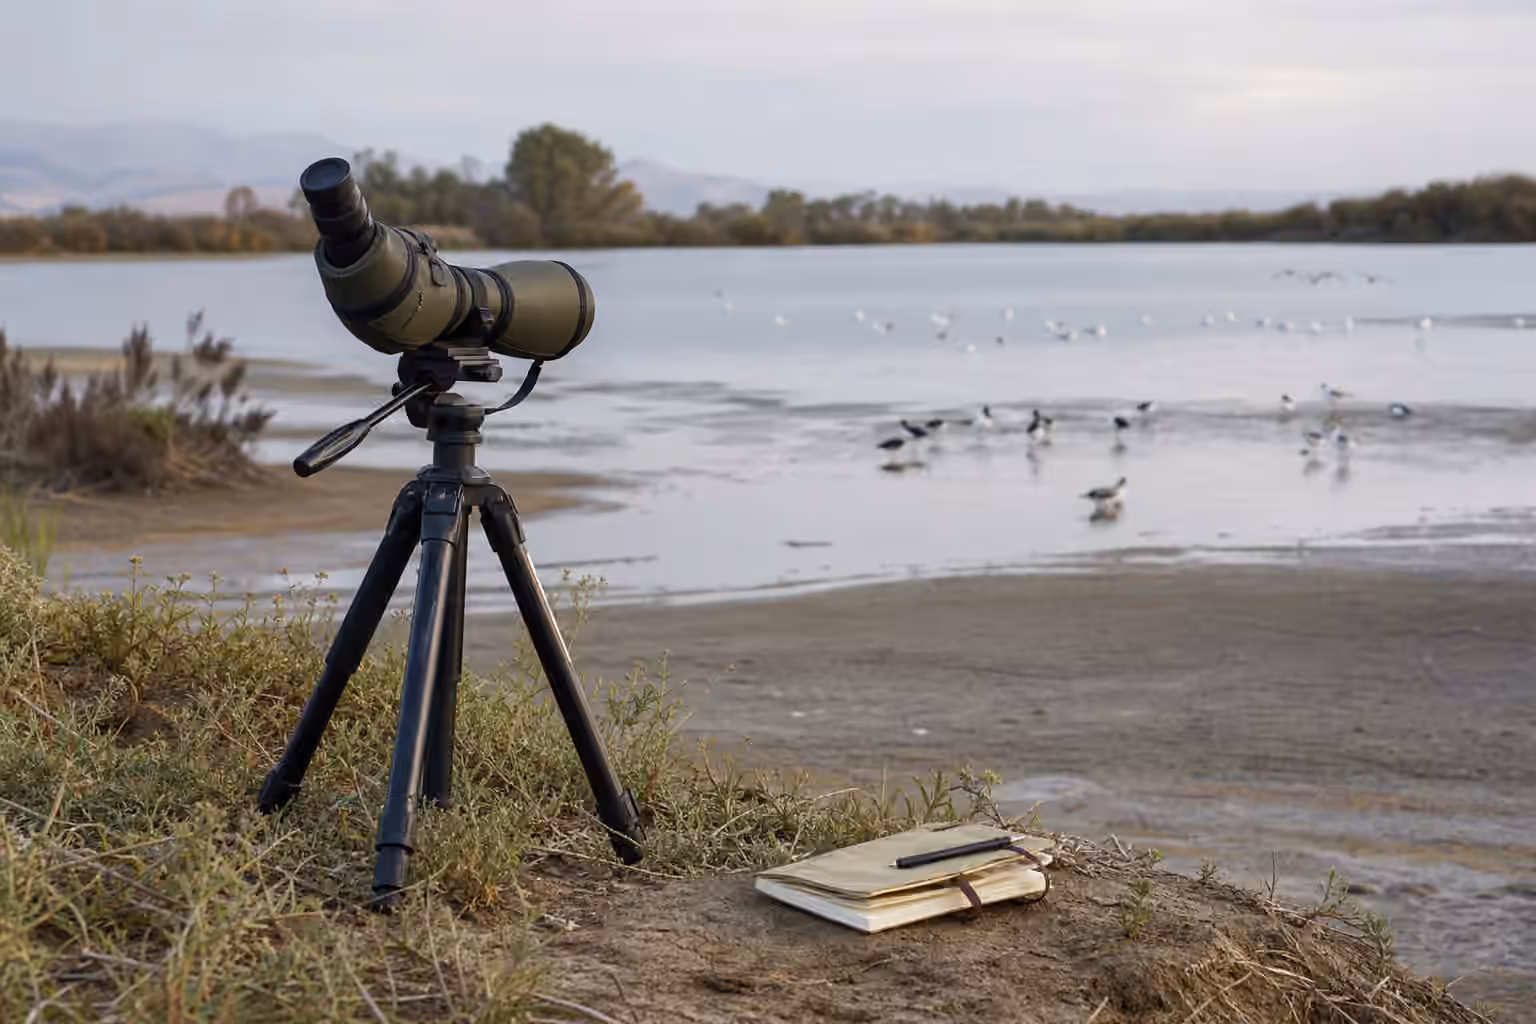
Set Up Before the Moment Passes
A scope rewards preparation. Extend the tripod legs enough that you can look through the eyepiece without hunching, but keep the setup stable. On windier days, a slightly lower tripod may be better than a tall shaky one. Press the legs into firm ground when possible. Avoid blocking a narrow trail or boardwalk. If other people are nearby, leave room for them to pass without brushing the tripod or stepping into sensitive habitat.
Point the scope roughly toward the active area before fine-tuning. A lake, mudflat, or hawk watch can be wide enough that a beginner loses the bird while searching through the eyepiece. Use your eyes and binoculars first. Find a fixed landmark near the bird: a pale rock, reed clump, floating log, channel bend, fence post, sandbar edge, or distant tree. Then aim the scope at the landmark and adjust from there.
This landmark habit is simple but important. It keeps the scope connected to the real scene. Without it, the magnified view becomes a small tunnel of water, mud, or sky with no orientation. With it, you can return to the same bird, share the view, and write a note that someone else could understand.
Find Birds With Your Eyes First
A scope has a narrow field of view. It is poor at finding birds that are moving quickly or hiding near the edge of vision. Your naked eyes and binoculars are still the first tools. Scan broadly, notice groups, pick out motion, then bring the scope to a question.
This order fits the identification process in How to Identify Birds Without Guessing . First ask what kind of bird you are seeing. Is it a duck sitting low or high on the water? A shorebird running at the edge? A gull resting with others? A raptor circling? A wader stalking? After that, the scope can help with bill shape, leg length, plumage pattern, wing tips, posture, age, or behavior.
If you start in the scope, you may see detail without context. A patch of color, a bill, or a feather pattern can feel meaningful while the broader clues are missing. If you start with context, the detail has somewhere to land.
Manage Magnification and Shimmer
More magnification is not always more information. At high power, the view darkens, shake becomes more obvious, and heat shimmer can turn distant birds into wavering shapes. On warm days, air rising from mud, sand, pavement, roofs, or dry fields may blur the very details you hoped to study. Wind can shake the scope. Rain, mist, salt spray, and glare can soften edges.
Begin at low power if the eyepiece allows it. Find the bird, focus carefully, and increase magnification only if the image remains useful. A smaller, steadier view often beats a larger boiling one. If shimmer is severe, wait for a bird to move closer to water, change your angle, lower the magnification, or accept that the view cannot support a confident identification.
The same honesty matters in Seawatching and Big-Water Birding . Distance removes information. A scope gives some of it back, but not all of it. Good fieldcraft includes knowing when the tool has reached its limit.
Read Groups Through the Scope
Scopes are excellent for studying groups because they let you compare birds without rushing them. A flock of gulls, ducks, shorebirds, or distant blackbirds may look uniform through binoculars. Through a scope, the group begins to separate into sizes, postures, ages, feeding styles, and small differences in structure.
With shorebirds, use the scope to compare leg length, bill length, feeding pace, and position on the mud. Shorebirds for Beginners explains why those clues matter more than trying to name every small bird by color. With gulls, compare mantle shade, bill shape, age, and size within the flock. Gulls for Beginners is built around that kind of slow comparison. With ducks and other waterbirds, watch whether birds dabble, dive, sleep, preen, or stay near cover.
Do not swing the scope randomly through the group. Move in small deliberate steps. Study one bird, then the nearest comparison. Return to the first bird if you need to check whether your impression changed. A scope is slow, and that slowness is the point.
Share the View Clearly
Scopes are social tools. At a hawk watch, shorebird spot, refuge overlook, or neighborhood pond, someone may ask what you are seeing. Sharing can be generous and useful, but it works best when you orient people before they look.
Describe the view from the outside first. The bird is on the left edge of the sandbar, just right of the dark reed clump, beside two smaller birds. The sleeping duck is in the middle of the loose group, facing left. The perched raptor is on the bare branch above the pale rock. Then let the person look. If they lose it, return to the landmark rather than grabbing the scope abruptly.
If several people are using the scope, keep the tripod stable and avoid crowding. Children and shorter adults may need the scope lowered. A person wearing glasses may need a slight adjustment. These small courtesies keep the field moment calm. They also help prevent the awkward shuffling and pointing that can draw attention from nearby birds.
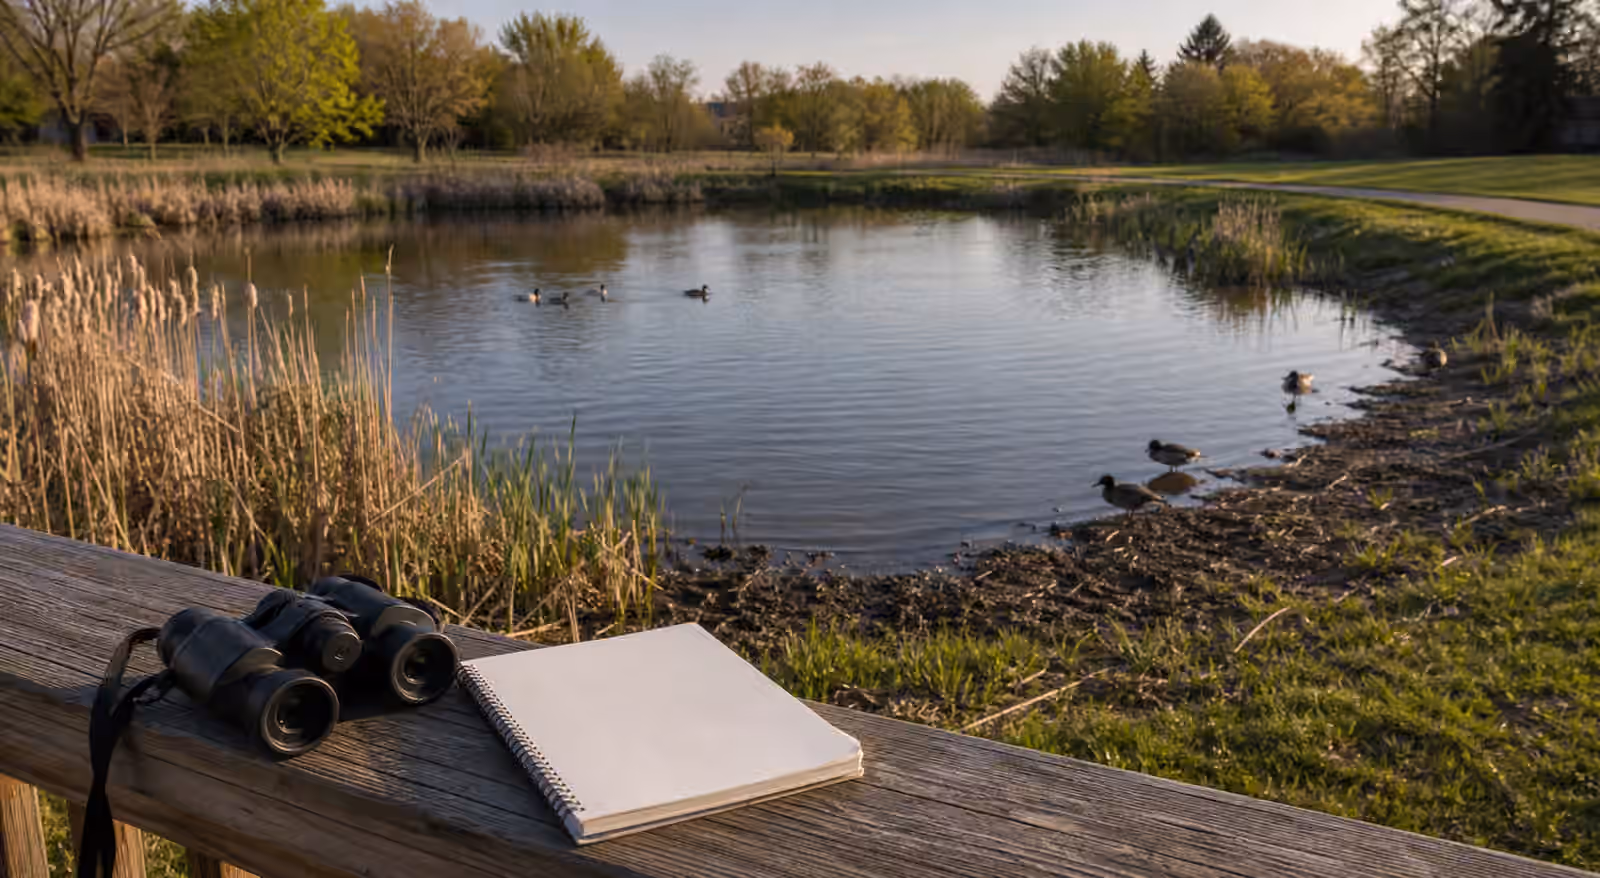
Make Notes From the Magnified View
A scope can tempt you to keep watching until the bird leaves and then trust memory. Better notes come while the bird is still present. Write a few plain details after each focused look. The bill was longer than the head. The legs looked dark. The bird probed rather than picked. The gull was larger than nearby birds and had a heavier bill. The duck dove repeatedly and surfaced in the same channel. These notes do not need to be elegant. They need to preserve evidence.
Because a scope often deals with distance, include conditions. Light behind the bird. Heat shimmer strong. Scope view clear at low power only. Bird asleep most of the time. Comparison with nearby birds reliable. These details tell your future self how much confidence the view deserved.
Photos through a scope can help if your setup allows them, but they are not required. A shaky record image paired with good notes may be useful. A clean image made after pressuring a bird is not worth the cost. The scope should deepen attention, not turn every outing into a chase for documentation.
Know When Binoculars Are Better
Scopes are poor at some kinds of birding. A warbler moving through leaves, a flycatcher making short sallies, a mixed flock passing through woodland, a bird crossing quickly overhead, or a marsh bird slipping through reeds may be easier with binoculars and patient eyes. A scope can also make a beginner feel tied to one spot while birds are active elsewhere.
Use the tool that matches the behavior. Binoculars are for finding, following, and moving lightly. Scopes are for distance, comparison, and settled views. On a good outing you may switch between them constantly. You might find a flock with your eyes, check it with binoculars, study one bird through the scope, lower the magnification when wind rises, then step back and watch the whole habitat again.
The best scope work feels quiet. Birds keep feeding. Other people can pass. Your notes become more specific. The distant flock is still distant, but it is no longer a blur. You have not defeated distance. You have learned to work with it.