A field guide or birding app can make a beginner braver. It gives names to the shapes moving through trees, shows the seasonal range of birds you have not met yet, and helps turn a vague memory into a more careful question. It can also pull your attention away from the bird at the exact moment the bird is teaching you something.
The trick is not to reject references. Good birders use them constantly. The trick is to decide when the reference should enter the walk. If the guide comes too early, you may start matching the bird to a picture before you have truly looked. If the app comes too late, you may lose useful details that would have narrowed the choice. The best habit is a simple rhythm: watch first, describe plainly, then check the reference with the bird or the note still fresh.
This guide fits beside How to Identify Birds Without Guessing , which teaches the order of size, shape, behavior, habitat, sound, and field marks. A reference works best when it supports that order. It should help you test an observation, not replace the observation with a confident label.
Look Before the Page
When a bird appears, the first tool is still your attention. Keep your eyes on the bird long enough to notice its size, posture, movement, and place. A few seconds of honest looking can prevent a long search through the wrong section of a guide. A small bird clinging to bark belongs in a different mental space from a small bird hopping under shrubs. A long-winged bird gliding over water asks different questions from a round bird diving near reeds.
The urge to open a book or phone immediately is understandable. Beginners often fear that the bird will leave and the chance will be gone. But if the bird leaves while you are scrolling, you have neither the bird nor a useful note. If it leaves after you have watched it feed, flick its tail, call from a thicket, or show a heavy bill, you still have evidence. The reference can work with evidence. It cannot work with a feeling that something was “kind of yellow.”
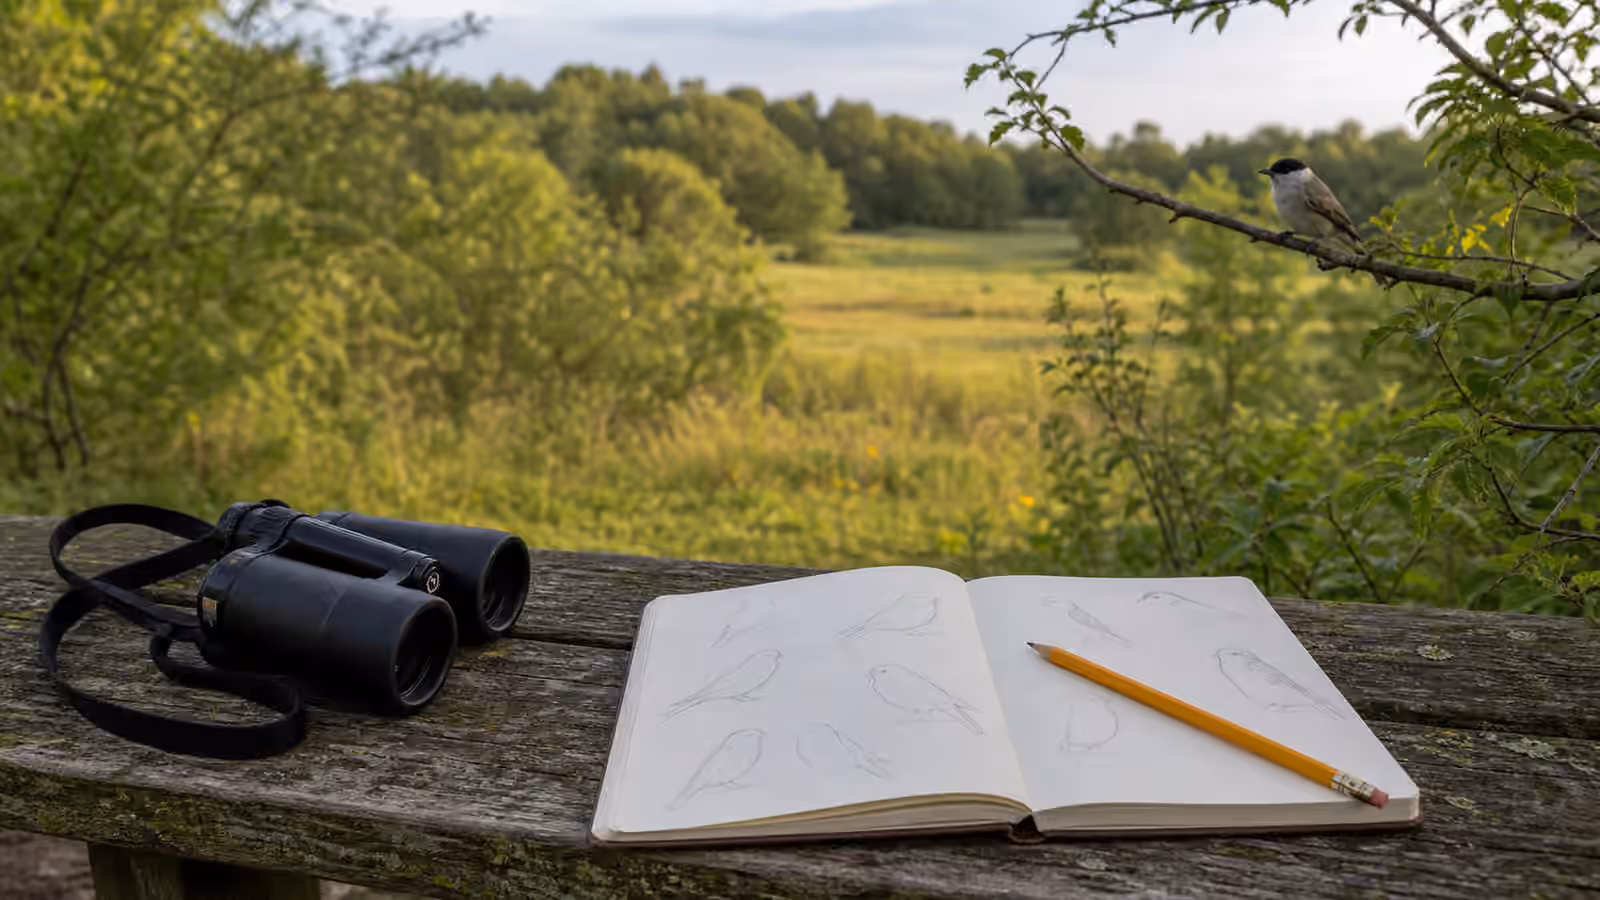
Try to say the bird in plain language before naming it. Robin-sized, upright, long tail, dark cap, feeding on lawn. Sparrow-sized, streaked, thick bill, low in dry grass near cover. Duck-shaped, sitting low, diving repeatedly, pale patch on side, far out on open water. These are not polished descriptions, but they are strong handles for a guide. They reduce the page from every bird to a smaller set of birds that behave and look roughly like the one you saw.
Use the Guide as a Comparison Tool
A field guide is not only a picture book. It is a comparison tool. The plates or photos matter, but so do range notes, habitat notes, seasonal comments, size comparisons, behavior descriptions, and similar-species sections. Beginners often look at the most colorful image first and stop when something feels close. A steadier method is to ask which option explains the whole bird with the fewest excuses.
Suppose you saw a brown bird in a weedy field. One guide image may show a bird with similar streaking, but the text says it is usually in dense wetland reeds. Another may look less dramatic in the picture but matches the open field, seed-eating behavior, and thick bill. The second bird deserves more attention. Habitat is not a prison, and birds do wander, especially during migration, but the normal life of a bird should be part of the decision.
Printed guides are especially useful for side-by-side comparison because similar species often share a page. You can rest your finger on one candidate and compare bill shape, wing bars, tail length, and posture with another. Apps can do the same if you slow down and use filters carefully. Narrow by region and season when the tool allows it. Then compare a few likely birds rather than letting the entire continent crowd the screen.
It helps to read the words after looking at the image. Many identification problems are solved in the small text: larger than, smaller than, often flicks tail, usually high in canopy, feeds on mudflats, gives harsh call, shows wing stripe in flight. Those phrases connect the reference to the bird you actually watched. A picture may catch your eye, but behavior and context often settle the question.
Let Apps Suggest, Not Decide
Birding apps are useful because they can carry a large guide, sound library, checklist tool, and local records in one pocket. They are also persuasive. A confident app suggestion can feel like an answer even when your own observation was thin. Treat the app as a knowledgeable friend who may be right, not as a witness that saw the bird for you.
Photo identification can be helpful when the image shows structure clearly. It can also be fooled by blur, odd angle, shadows, partial birds, juvenile plumage, wet feathers, or a nearby leaf that changes the apparent shape. Sound identification can be excellent for learning common voices, but it can struggle with overlapping singers, traffic, wind, echoes, distant calls, and regional variation. The habits in Birding by Ear still matter. Listen for shape, place, rhythm, and repetition before accepting a name.
When an app suggests a species, ask whether the suggestion fits your own evidence. Was the bird the right size? Did it use the right habitat? Is the season plausible for your area? Did the song or call match the rhythm you heard, or only the app’s label? Did you see the field marks that would separate it from a common look-alike? If the answer is weak, keep the identification open. “Possible” is a useful word in birding because it protects your future learning from the pressure to sound certain.
The app becomes much stronger when paired with your notes. A recording with a note saying “repeated buzzy song from low wet thicket at first light” is more useful than the same recording with no context. A blurry photo plus a note about feeding behavior can be enough to revisit a question later. The phone is not the whole observer. It is a container for evidence.
Build a Short Local Reference
The best reference is the one that matches the birds around you. A huge guide can overwhelm a beginner because it presents many possibilities that are rare, seasonal, distant, or unlikely in the place you are standing. Local familiarity makes the guide smaller. Your first goal is not to know every bird. It is to know the regular cast well enough that an unfamiliar bird has a shape against which to stand out.
Start with the places you actually bird: a yard, park, pond, school path, cemetery, river trail, beach access, marsh boardwalk, or commuting route. Patch Birding is built on this idea. Repeated visits teach which birds are common, which are seasonal, which habitats hold them, and which sounds belong to ordinary mornings. Once those birds become familiar, the reference stops being a giant catalog and becomes a tool for comparison.
Local checklists and records can help, if you use them gently. They can show what people commonly report in a county, refuge, city park, or shoreline during a season. They can also create false expectations if you treat them like a shopping list. A bird reported nearby yesterday is not owed to you today. The value of records is context. They tell you which possibilities are normal enough to consider and which require stronger evidence. Birding Checklists and Local Records goes deeper into that balance between learning and listing.
Over time, make your own mental local guide. Not a formal book, just a set of remembered patterns. The small bird that chips from the hedge most mornings. The ducks that gather at the sheltered pond corner in winter. The gulls that appear after rain. The warblers that favor one sunny edge during migration. When you open a printed guide or app after building those patterns, you are no longer asking the tool to create the whole outing. You are asking it to clarify a real thing you have begun to understand.
Check Similar Birds on Purpose
Many wrong identifications happen because the first plausible match feels good enough. A better habit is to check the closest alternative before settling. If you think you saw a finch, compare the common finches and sparrows likely in your area. If you think you saw a hawk, compare the regular local raptors by wing shape and flight style. If you think you heard a familiar song, listen once to a likely similar song and ask what was actually different.
This does not mean turning every bird into a court case. It means giving the guide a fair job. The similar-species habit teaches your eye what matters. You begin to notice that one bird has a heavier bill, another longer wings, another stronger eye line, another different flight rhythm. Even when you confirm your first idea, you have learned why it was the better fit.
Some groups deserve extra patience. Gulls, shorebirds, sparrows, warblers, and ducks can all vary with age, sex, season, molt, light, and distance. The site has separate guides for several of those groups because they reward slower comparison. If the bird is part of one of these harder groups, use the reference to ask better questions rather than demanding an instant answer. What age might this be? What field marks are hidden? What behavior did I actually see? What cannot be known from this view?
Put the Reference Away Again
A good reference session should send you back to the bird. After checking a likely match, look again if the bird is still present. Does the bill really fit? Is the tail as long as the guide suggested? Is the bird feeding in the expected way? Did the call happen again? The second look is often better than the first because the guide has given your attention a target.
There is a point, though, when the tool begins to shrink the walk. If you spend the whole outing bent over a screen, you may confirm a few names while missing behavior, weather, movement, and the quiet arrival of other birds. The best use of a reference is brief and cyclical. Watch, note, check, return. Repeat when needed. Let the tool sharpen the field rather than replacing it.
This habit also supports better etiquette. A person absorbed in a phone may drift closer to a bird, block a path, miss signs of alarm, or forget that other people are sharing the space. Birding Etiquette and Field Notes treats attention as part of respectful birding. The guide or app should not make you less aware of the living scene in front of you.
Keep Honest Names
References do not remove uncertainty. They simply give uncertainty better edges. Some birds are too brief, too distant, too silent, too backlit, or too similar to name safely. A guide may show several candidates that could fit. An app may offer a suggestion that is plausible but not supported by your view. That is a normal outcome, not a failed outing.
Use names that match the strength of the evidence. Unknown sparrow. Possible vireo. Warbler species. Large dark raptor. Gull, immature, not safely identified. These labels may feel less satisfying than a species name, but they keep your records clean and your learning honest. Later, after more walks, you may look back and understand what you were seeing. Honest notes age well because they preserve the actual observation.
The goal is not to use references less. It is to use them at the right moment and with the right amount of authority. A good guide opens your eyes to features you missed. A good app lets you carry sound, range, images, and notes without a heavy bag. A good birder lets those tools serve the bird in view. Watch first. Describe what happened. Compare carefully. Accept uncertainty when the evidence asks for it. Then close the guide, lift your eyes, and let the next bird be more than a name.